Welcome to our tutorial on downloading and installing Dolphin Passwords for your Mac. Dolphin Passwords offers a seamless solution to keeping your passwords secure and readily available, boosting both your online security and productivity. Let’s dive in and get started with the installation process!
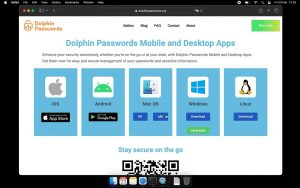
Step 1: Visit the Dolphin Passwords Website
Begin by accessing the Dolphin Passwords website directly using the following link: Dolphin Passwords
This link will take you directly to the official Dolphin Passwords website, ensuring you download the software from a trusted source.

Step 2: Download Dolphin Passwords
Choose the installer that matches your Mac’s processor:
– M1 Installer
– x86 Installer
Select the appropriate option to download Dolphin Passwords for your device.
Step 3: Open the Downloaded File
In the top right corner of your web browser, you’ll find the download icon. Click on it to reveal the downloaded Dolphin Passwords installer.
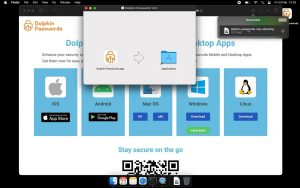
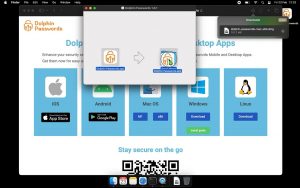
Step 4: Install Dolphin Passwords
In the new window, you’ll see the Dolphin Passwords application icon. Simply drag and drop this icon into your “Applications” folder. This will copy the application to your Mac’s Applications directory.
Step 5: Launch Dolphin Passwords
Once the copying process is complete, navigate to your Applications folder. Find the Dolphin Passwords application icon and double-click on it to launch the application.
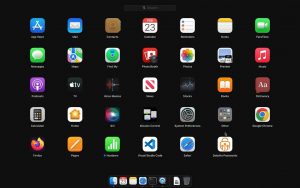
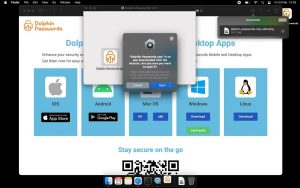
Step 6: Open Dolphin Passwords
Upon double-clicking the downloaded file, a security prompt may appear asking if you want to open Dolphin Passwords. Click on “Open” to proceed with the installation process. This action ensures that the application is allowed to run on your Mac.
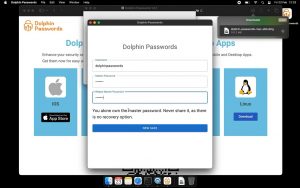
Step 7: Initialize Dolphin Passwords
Upon launching Dolphin Passwords, you’ll be prompted to input a username and a master password to initialize your password safe. Ensure your master password is strong and memorable, as it will be used to unlock your password safe in the future.
Step 8: Import Passwords
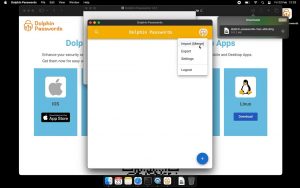
If you have previously exported your passwords from another device or password manager and saved them in a file, you can now import them into Dolphin Passwords.
Click on the Dolphin Passwords logo located in the top right corner of the interface. From the dropdown menu, select “Import.” This will open the import options where you can choose to import passwords from a file.
Step 9: Select the File
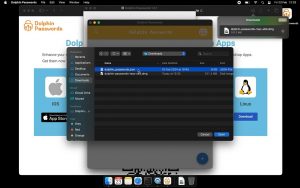
After clicking “Import” from the dropdown menu, a file selection dialog will appear. Navigate to the location where your password file is stored on your Mac.
Once you’ve located the file, click on it to select it. Then, click “Open” or “Choose” (depending on your system) to confirm your selection.
Step 10: Preview and Import
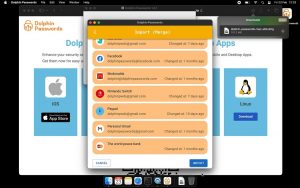
After selecting the file, Dolphin Passwords will provide a preview of the passwords to be imported. Take a moment to review this information to ensure accuracy.
Once you’re satisfied with the preview, locate and click the “Import” button. This action will initiate the import process, transferring the passwords from the selected file into your Dolphin Passwords safe.
Step 11: Add a New Login
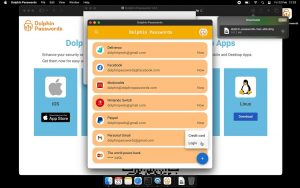
To add a new login entry to your Dolphin Passwords vault, locate and click the “+” button in the bottom right corner of the interface.
This action will open a new form where you can input the details of the login, including the website URL, username, password, and any additional notes.
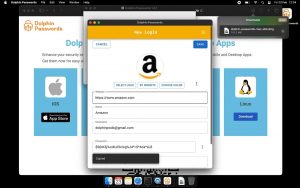
Step 12: Save New Login
After entering the details of the new login, ensure all information is accurate and complete.
Once satisfied, locate and click the “Save” button to securely store the new login entry in your Dolphin Passwords vault.
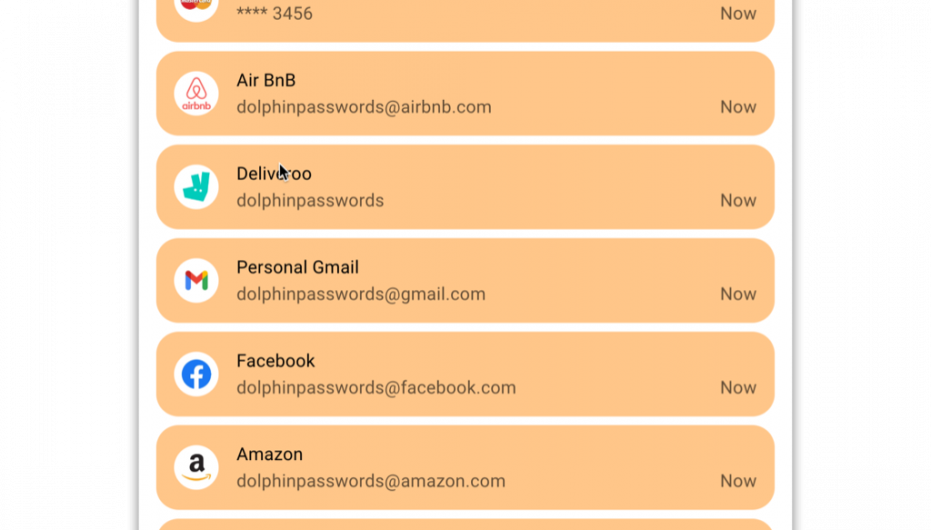
Your new login information is now safely stored and ready for use whenever you need it.
Congratulations! You’ve successfully downloaded and installed Dolphin Passwords on your Mac. Enjoy the convenience and security of managing your passwords with ease. If you encounter any issues during the installation process, feel free to contact us for assistance.